Who doesn’t love stickers? I know I sure do. There’s lots of great print services that can make large batches of high quality stickers in a variety of formats, but for the starving artist, professionally made stickers can get expensive FAST!

At my first craft fair event, I ordered some professionally made stickers to sell along with my other wares. They sold well, but in order to recoup my production costs and make a profit I had to sell them for $2 a piece, kind of expensive even from the seller’s perspective. Was there any way I could do the labor myself and still make a sellable product?
I had used inkjet sticker paper in the past. It doesn’t have the smooth glossy sheen that store-bought stickers have. They’re fine stickers for personal use, but they aren’t waterproof and they do look like something that you ran off your home printer. A few applications of uv protective acrylic clear coat solve this, giving the stickers a nice sheen and improved durability. Especially from water!
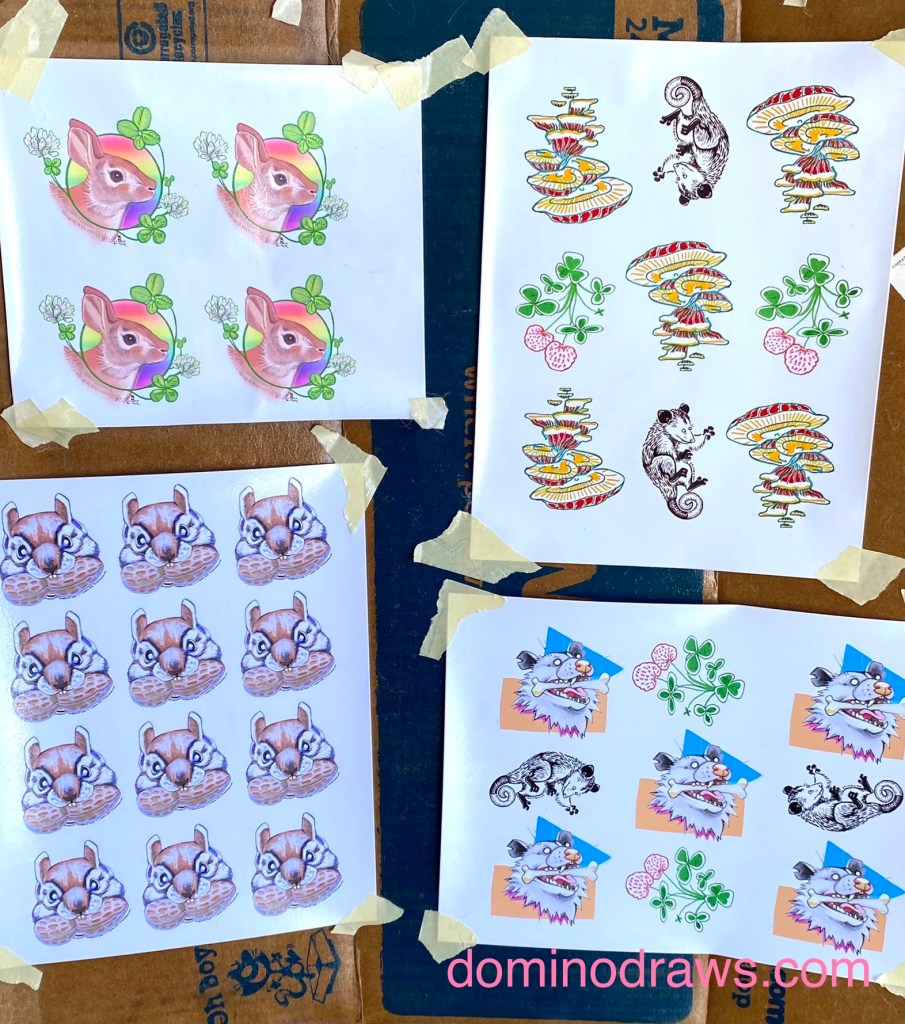
Sticker making fits well into my day to day routine; wake up, make coffee, print off some of my designs on sticker paper and then seal them. It takes about 4 layers of clear acrylic to give them a nice gloss. The acrylic also adds some heft to the paper. Waiting for the layers to dry between applications is a good time to wash the dishes, walk the dog or whatever else needs doing. Ideally, give each batch 24 hours to cure before cutting.
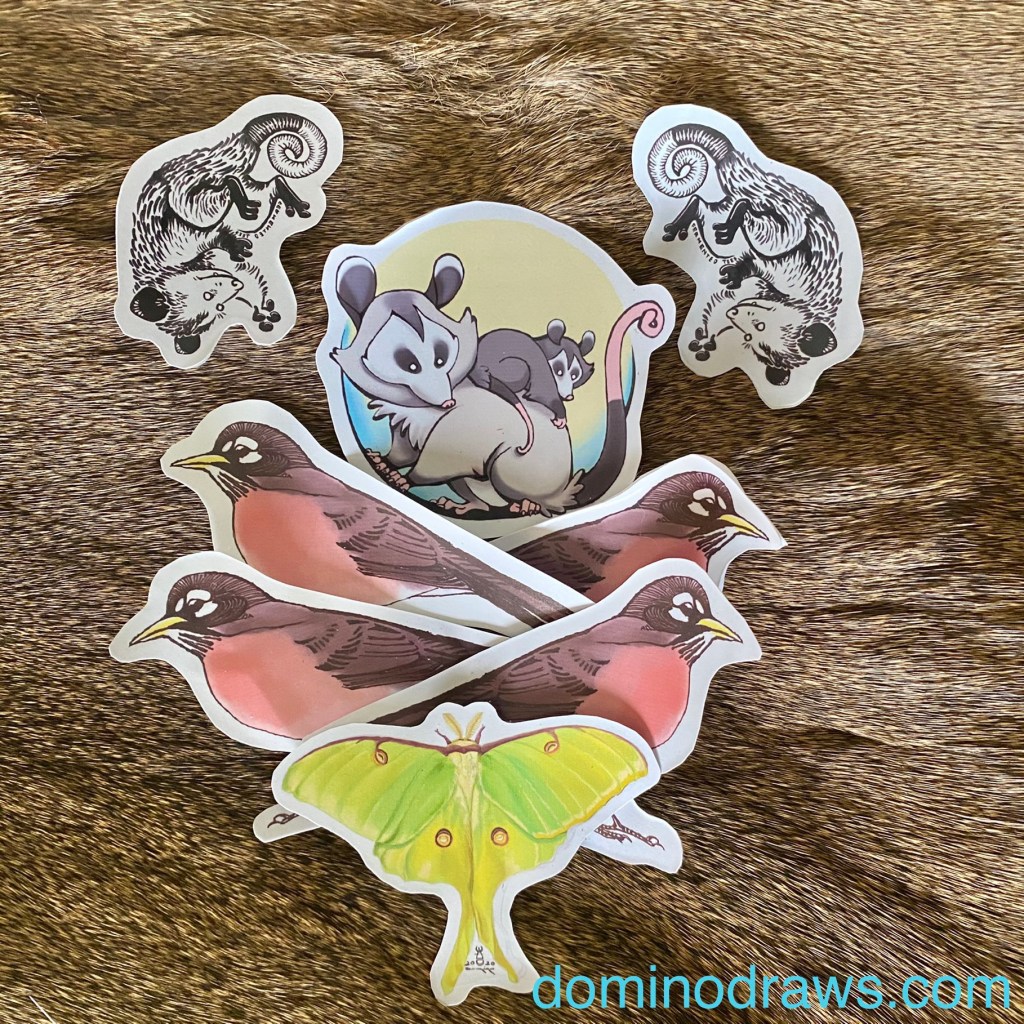
I don’t yet have a die cutting machine, so all my stickers are still hand cut. This is time consuming! But a task that can be accomplished while relaxing. I’m pretty steady with a pair of scissors, so the edges don’t look too bad, but a die cutting machine would help automate the process while also producing more professional looking results. But I have to admit, I like the small batch ethos and the rough edges give these Stickers a homespun punk vibe.
I’m still experimenting with different sticker papers, different sealants to find the best results. One drawback of the inkjet papers I’ve been using is that the backing on it is fairly thin. The backing paper can be difficult to remove and also they have a tendency to roll up after cutting. Not ideal, but better than nothing. So far I prefer Rustoleum’s uv protective clear coat. It costs about $9 which makes it more expensive than Krylon’s equivalent product by about a buck fifty. The Krylon clear coat is very light, I had to apply more of it to get a sufficient seal, and it ended up making the sticker paper buckle. I have not yet had this problem with the Rustoleum.
Inkjet sticker paper is available from many manufacturers and retailers. It’s usually about $10 for a package. In my case, The nearest craft supply store sells 12 sheets for $9.99 or 83 cents per 8.5×11” sheet. Factoring the cost of ink and sealant per sheet is a little harder for my mathematically challenged brain to compute, but a lowball estimate would place it at about $1 to produce one batch.
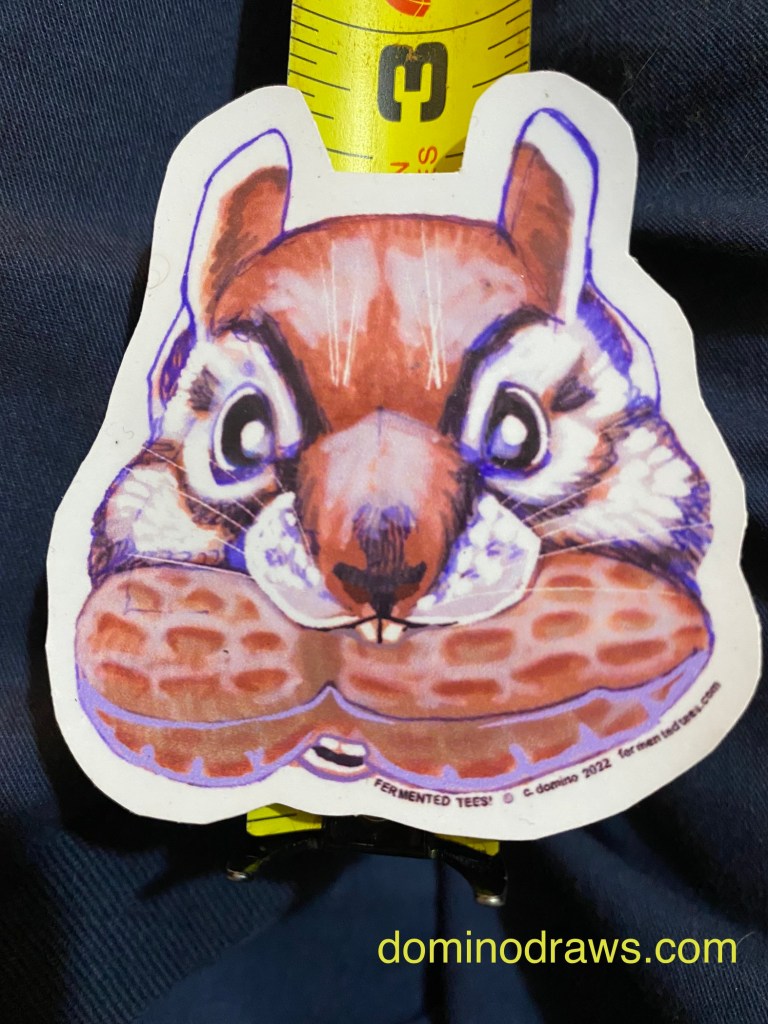
My latest design, this chipmunk prepper is a little under 3” in its longest dimension. 12 of these designs can fit on one sheet so about 8 cents per sticker to produce? Pretty good imho.
By reducing my production cost, I can afford to give these away to friends and family and as little thank-yous to the kind people I meet. When I drop a tip into someone’s tip jar, I can also drop a sticker In which can brighten someone’s day makes my art more known to more people! Win/win!!
Almost everyone has at least one side hustle these days. Stickers are a fun and cheap way to advertise whatever you’re doing. You can use them in your custom packaging, sell them with your custom artwork, use them as free promos or as a little “thank-you” to your clients.
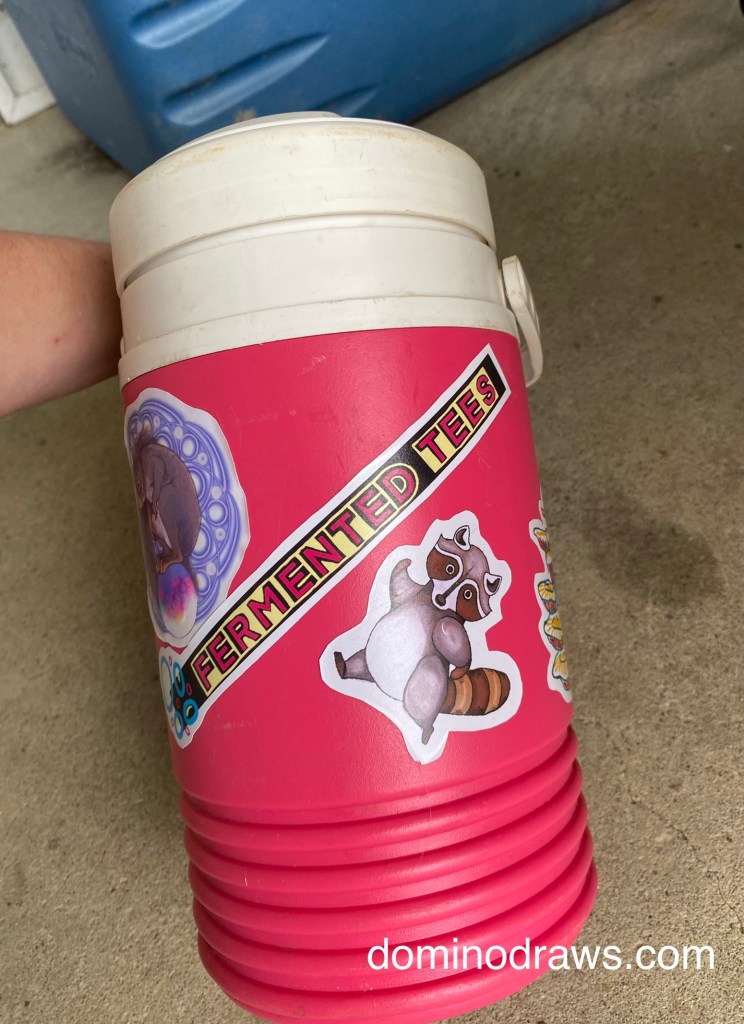
I’m covering all my “take-alongs” (thermos, water bottle, notebooks) with stickers to subliminally advertise my work when I’m out and about. My insulated water bottle has become my mobile billboard wherever I take it because if you have anything like, for example an online merch shop you gotta TELL people about it.